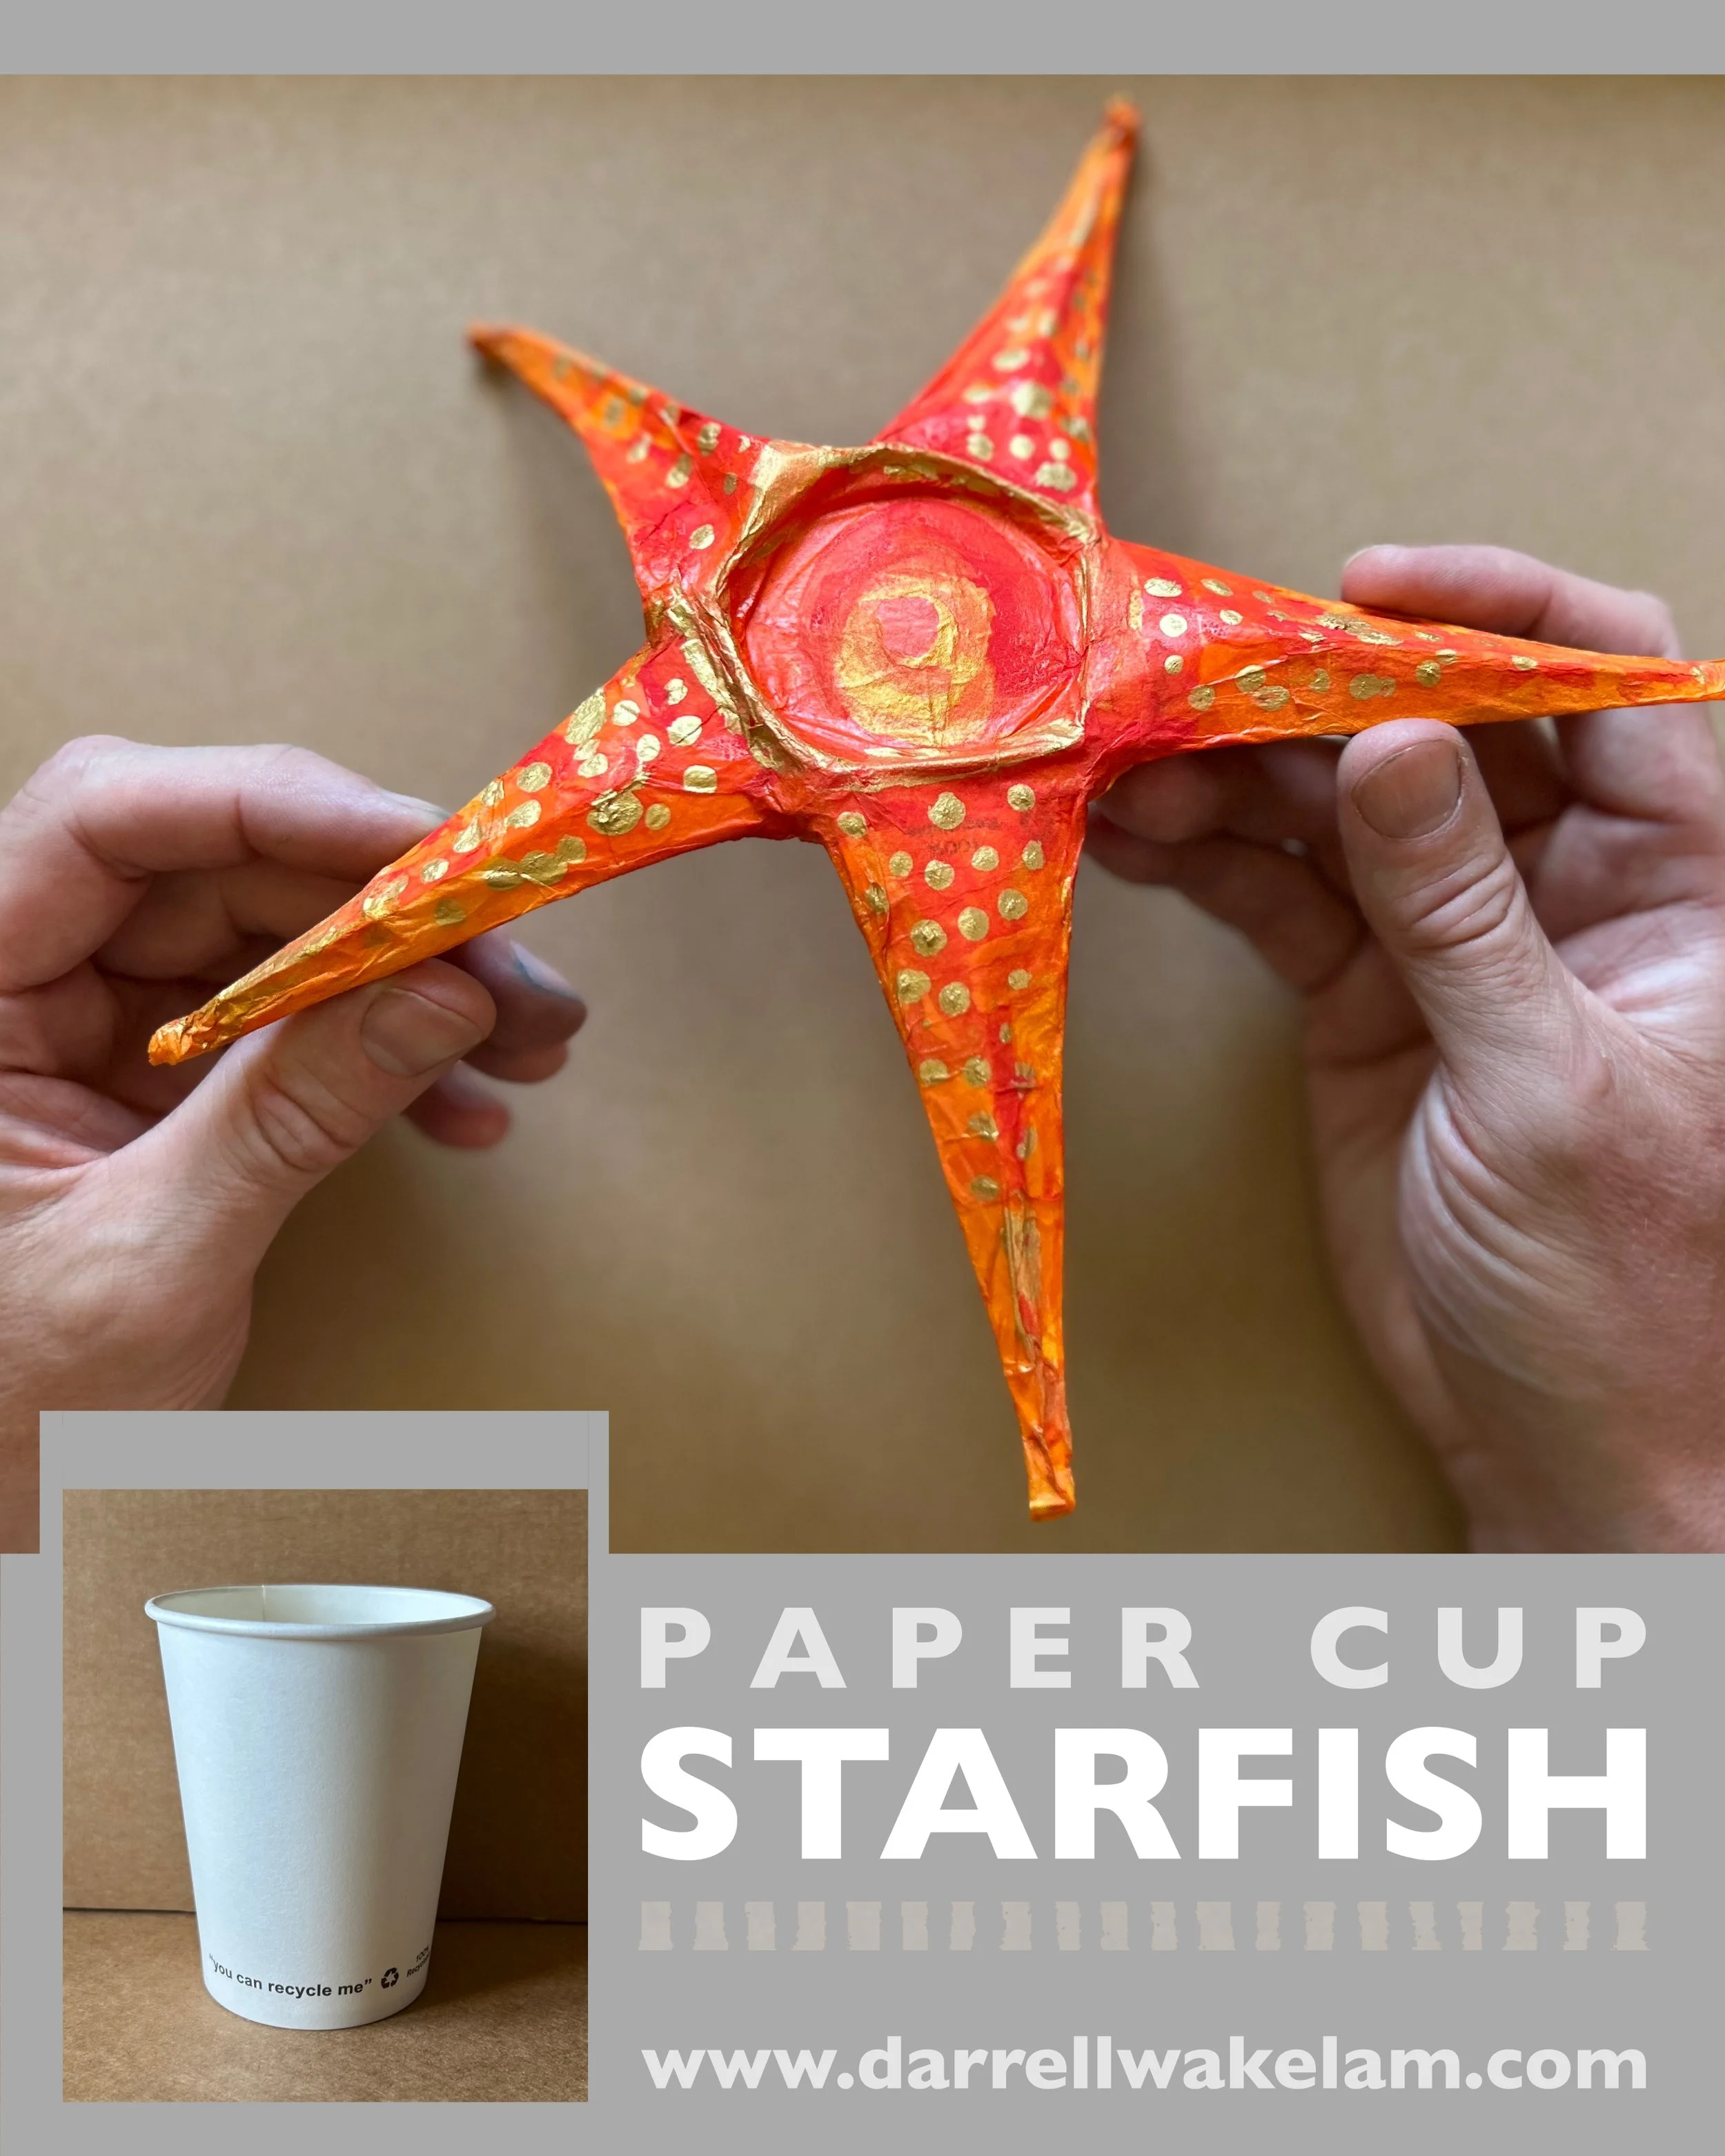
Paper Cup Starfish
So, recently I’ve been playing around with ideas using the humble ‘coffee cup’ as the starting point, and this is probably the simplest of those ideas. This starfish design involves very simple cutting out, a bit of tape to hold it together (I’ve used masking tape but you could use any) and then either a bit of coloured tissue paper, or paint to add the colour. In my example I’ve used both, tissue paper for strength and to add an undercoat, and then paint to highlight the detail and texture. Obviously, starfish come in a multitude of shapes, sizes, and colours, so this is open to adaptation.
The trickiest bit is really the ‘maths’! Dividing something into 5 isn’t the easiest, so I often use the idea of a ‘clock-face’, basically because it’s something we’re all familiar with. So, for this starfish I divided the circular rim of the cup into ‘5’ by marking off every 12 minutes', you don’t have to be too precise, a rough estimate will do.

Marking off every 12 minutes to divide the circle into ‘5’.
As with a lot of my ideas I’ve tried to use all of the remaining materials, what I call ‘pure making’. So, in this instance, the 5 triangular shapes that you cut away then get reused to make each of the legs more three-dimensional.
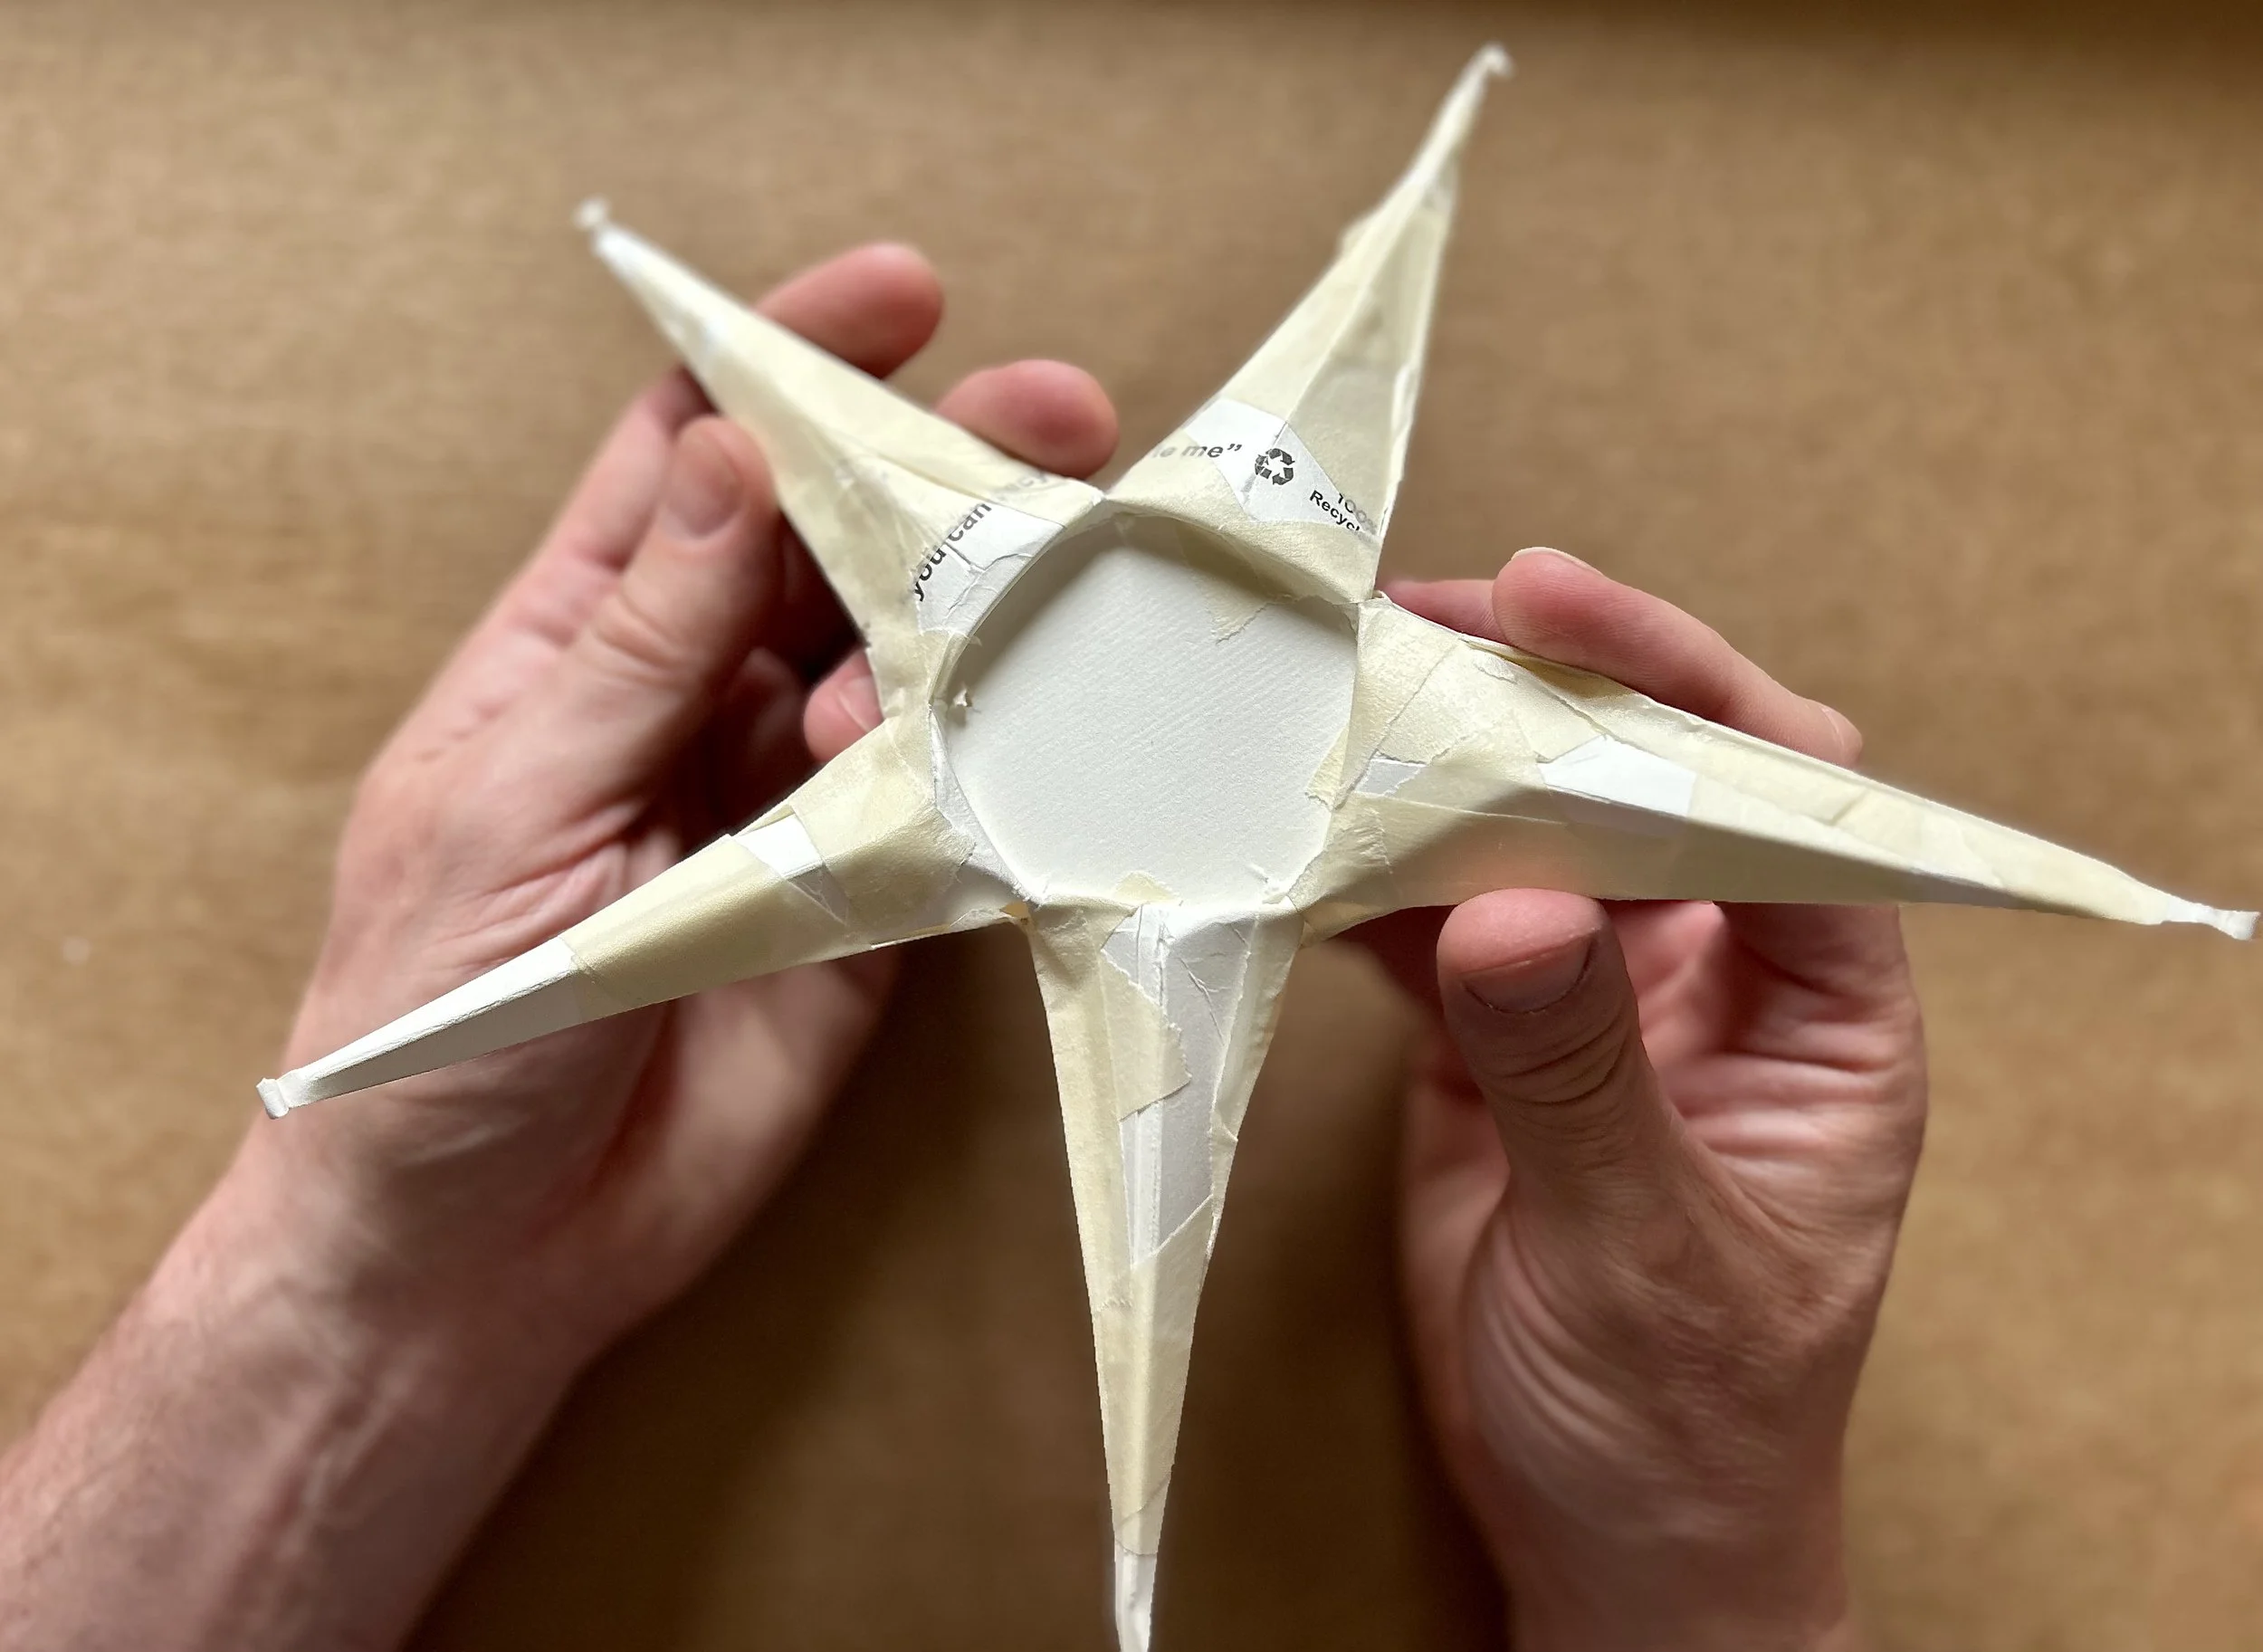
Here’s the ‘raw’ cardboard result.
You can see all of the basic construction method in the attached video here . . .
It would be easy to use different colours, either with the tissue paper you choose, or the paint you use, but you could also add more texture. You could collage different materials on to change the surface of your starfish, corrugated card, hole-punched circles, or you could even introduce a small length of thin wire into each leg, and bend the legs into a more curved shape.
It’s a pretty straightforward idea, so there’s lots of room to add your own finishing touches. Have fun.